

Good morning. Today’s Throwback Thursday is how to make a broom pencil. 🙂 Great for Halloween obviously but also for Harry Potter themed parties.
This is a video and a tutorial but not exactly a video tutorial. 🙂 You’ll see what I mean! Hopefully the series of photos in the video helps brings these instructions to life and shows just how easy it is to make these broom pencils yourself for Halloween.
Measurements
Early Espresso cardstock: 2-1/2″ x 4″
Instructions
- Draw guidelines at approximately 1″ and 1-1/2″.
- Cut strips as finely as you can down to the top guide and up to the bottom guide. Leaving a solid strip between your guides.
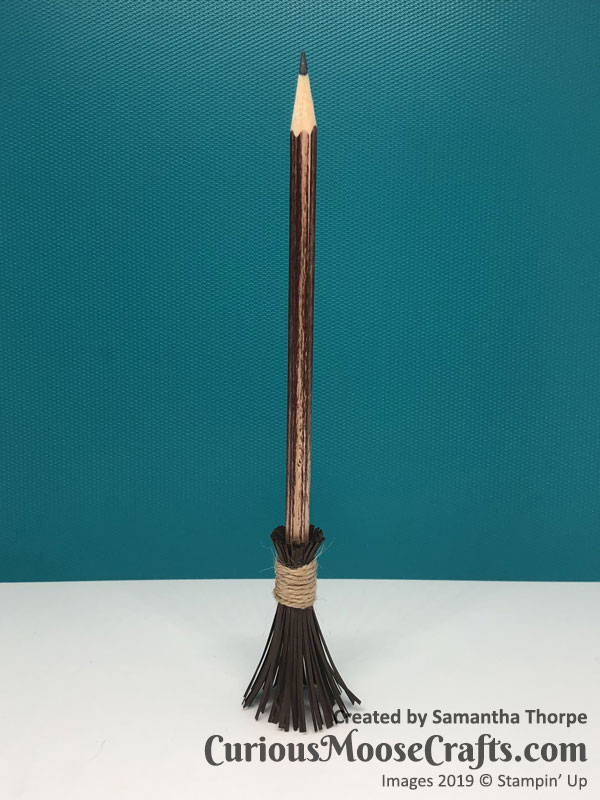
- Sand pencils to remove gloss coating.
- Colour with Early Espresso Stampin’ Write markers and then rub throughly with tissue or a paper towel to remove the excess ink. I recommend doing this a few times to make sure you have it all. If you don’t have a marker, you can use inker and rub on with a cloth or even use an ink pad.
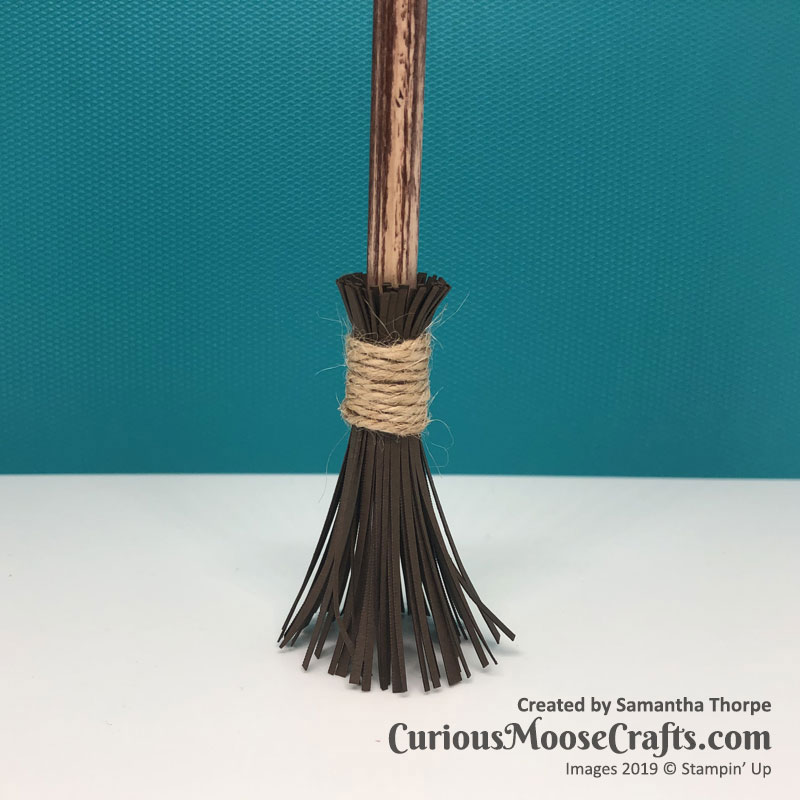
- Add tear and tape across the marked template guide on your “straw”. Remove the backing and roll around the end of the pencil.
- Add more tear and tape around the outside of the broom and wrap around to 1/2″ wide.
- Wrap some twine around the tear and tape (approx 12″). Tuck in the end when you start and use a pointy tool like Take Your Pick to help tuck in the other end.
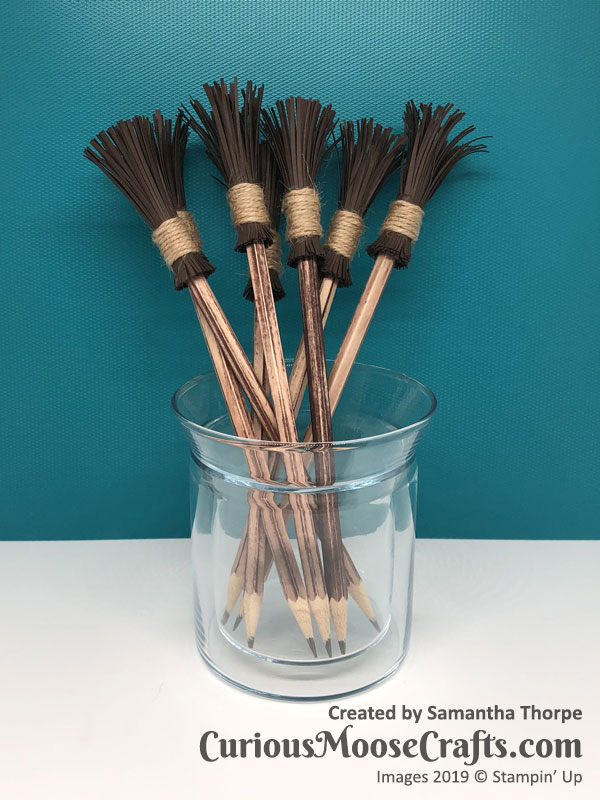
- Floof out the straw and voila! Broom pencil achieved.

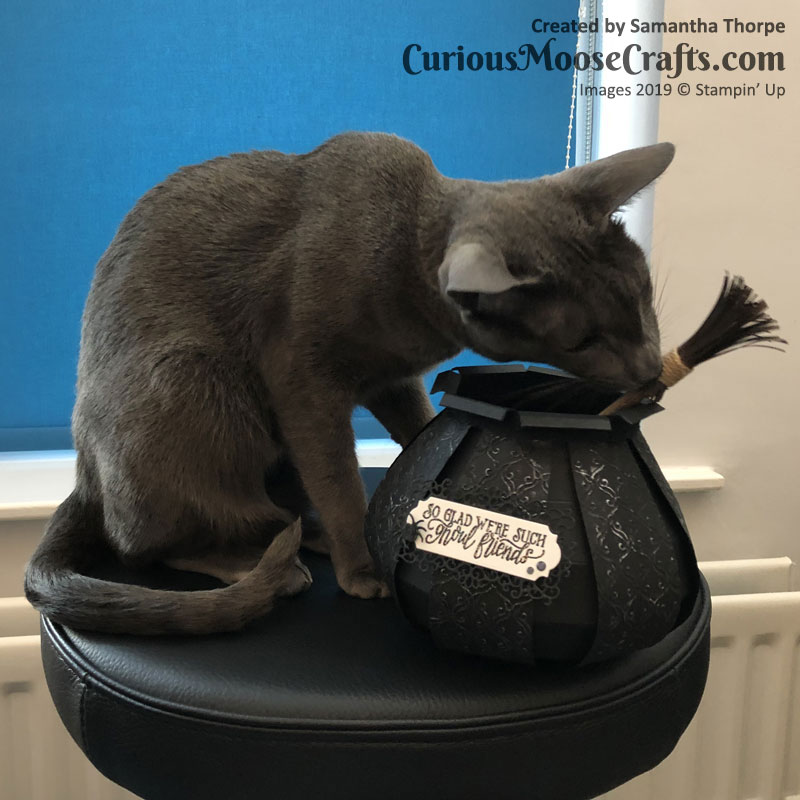
Here’s a previous picture of Iris “modelling” a broom pencil.
The supplies I used from Stampin’ Up! are listed below as usual.
Thanks for reading, please subscribe and come back soon.
Sam xx


