
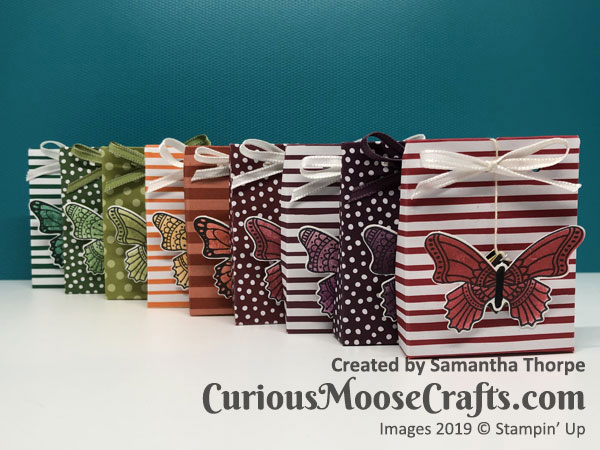
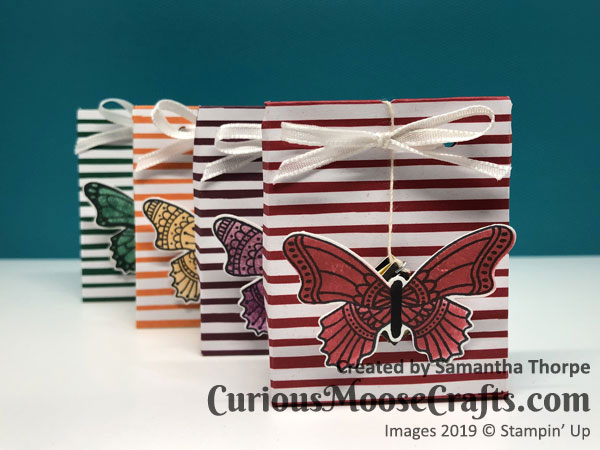
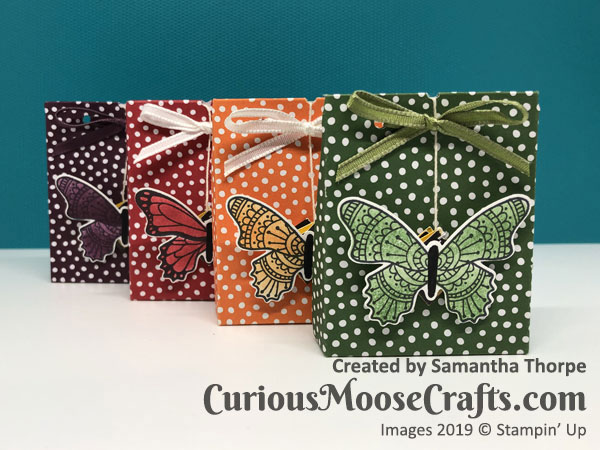
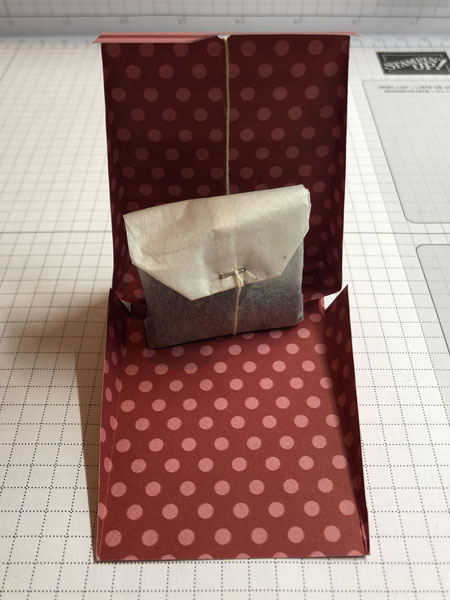
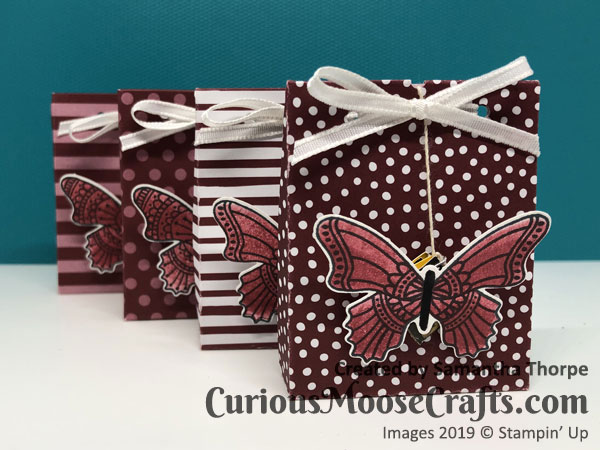
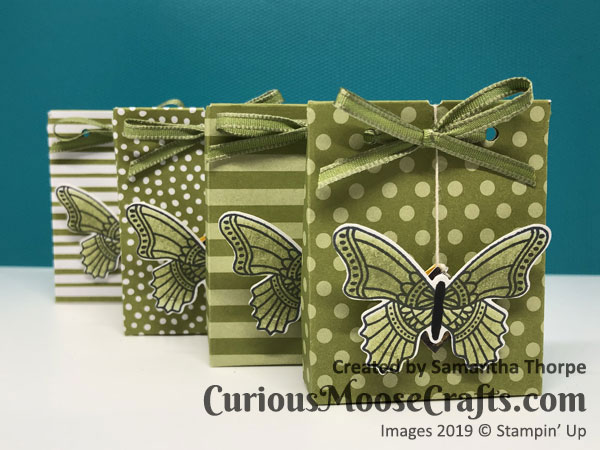
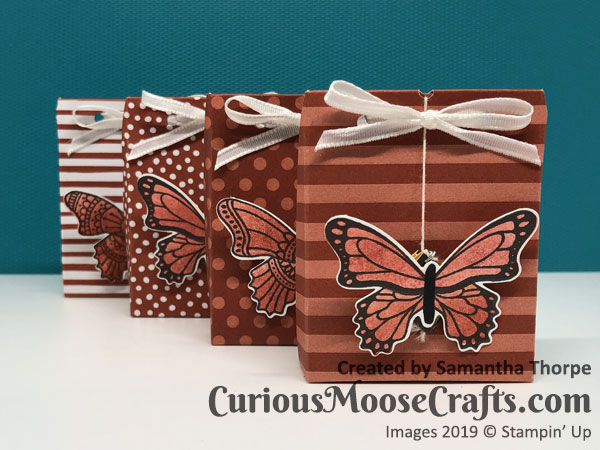
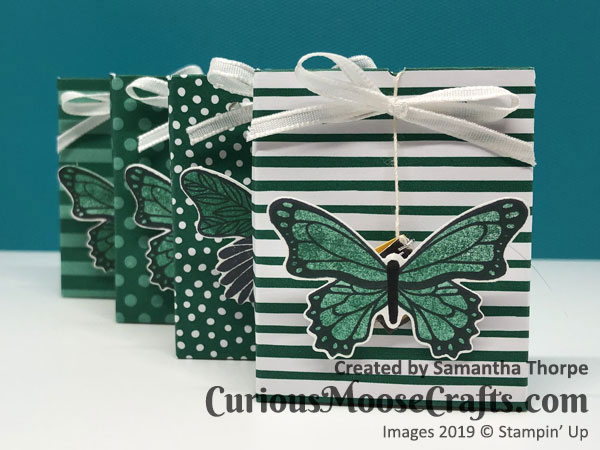
So this is my swaps project for the Pootlers OnStage meet up. No glue for the teabag covers, but glue dot required to attach the butterflies… so no glue might be stretching the truth a smidge 😉
A rainbow of Regals colours and 45 swaps gone with me to Stampin’ Up! OnStage. Wonder what I will get in return as it’s my first time. Exciting!
Product listing available at the bottom of this post.
Instructions:
- Cut ribbon to 9″
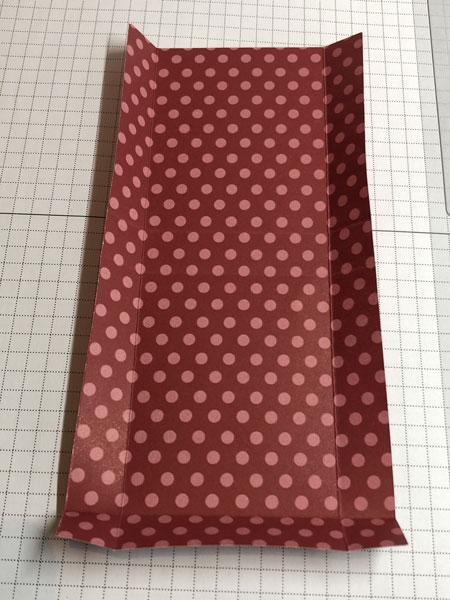
- Cut 6″ x 3″ DSP (so you get two using the 6″x6″ DSP or eight out of the big 12″x12″)
- Score thin side at 1/2″ on each side
- Score long side at 1/2″, 3″ and 3 1/2″
- Cut out as shown in the photo below
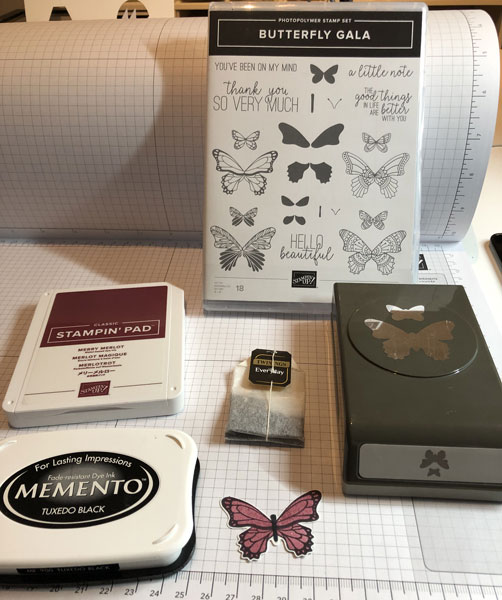
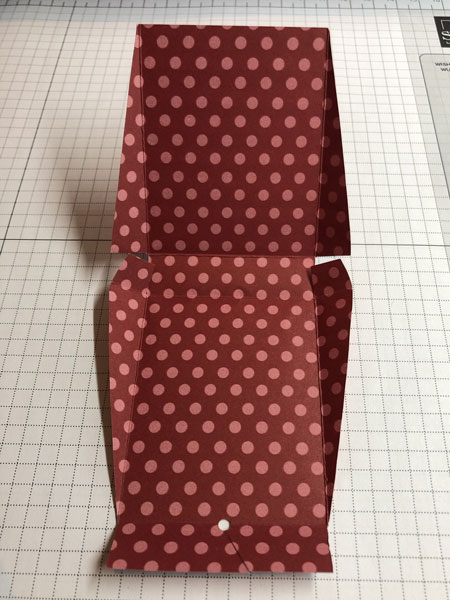
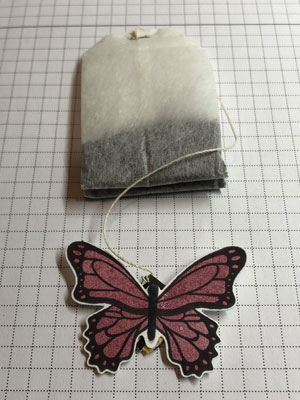
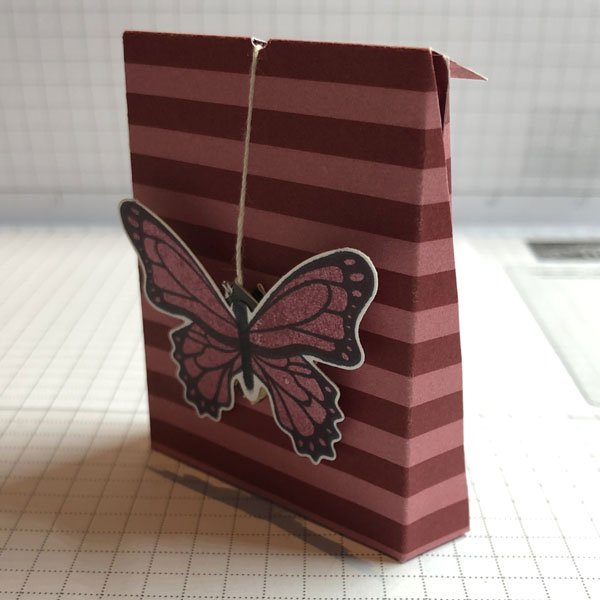
- Stamp and cut out your butterfly! Then attach to the teabag string (I used a glue dot).
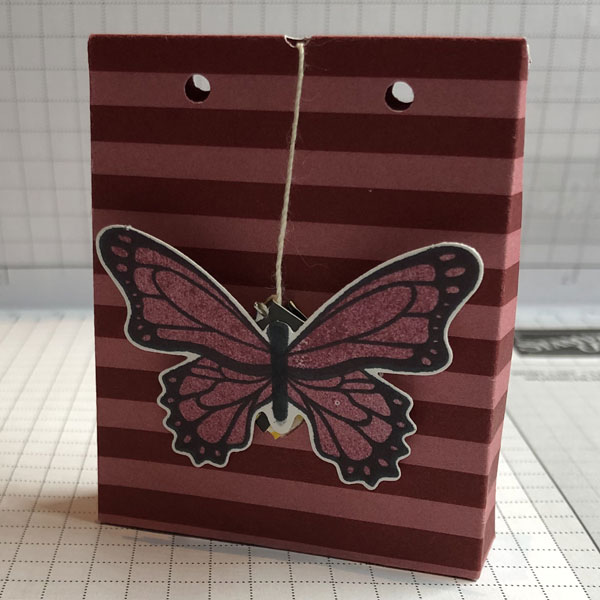
- Make sure you’ve punched a little hole and sliced to it for the teabag string to go in.
- Assemble! No glue.
- Make holes for the ribbon, pull through and bow up.
- Your’e done 🙂

Edit: I have now filmed a tutorial for this which you can watch below:
 |  | |
 |  |

 Designer Series Paper")


What great idea. I also like your blog title. Keep on creating. Looking forward to your next project. I also SU demo in WA state.
LikeLiked by 1 person
Thank you Anne 🙂 x
LikeLike
I love this! Thank you for sharing your creativity! I saw this on Sam Hammond Donald’s blog, and like her, I wanted instructions. Beautiful job! And again thank you! Oh, love your So Hoppy Together too!
LikeLiked by 1 person
Thank you 🙂 I’ve just filmed and posted a video tutorial for it. My first!
LikeLike