
Because who doesn’t want a papercraft birdhouse? Yesterday I joined in the InspireInk blog hop where the theme was 3D. Today I’m sharing a free printable so you can make one too!
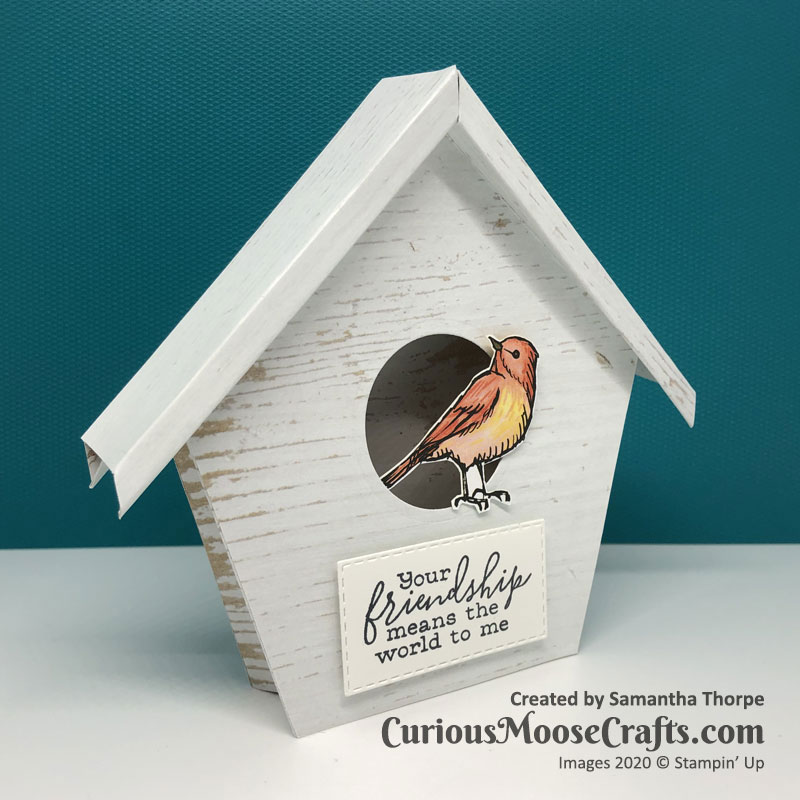
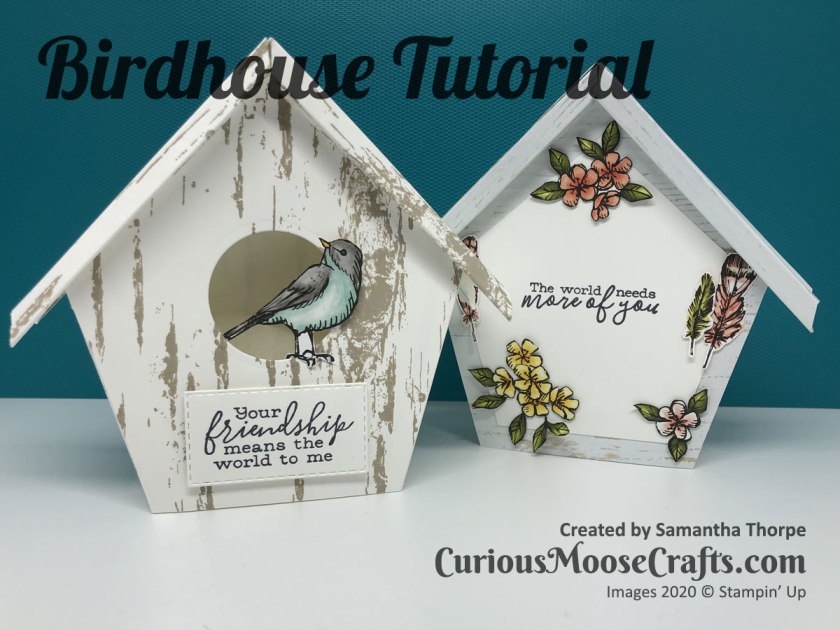
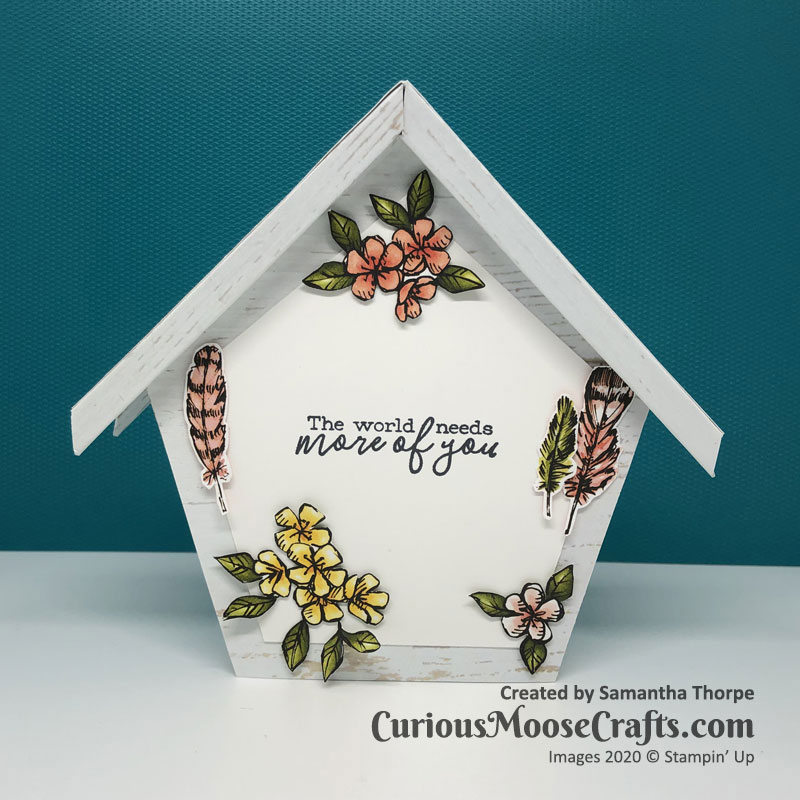
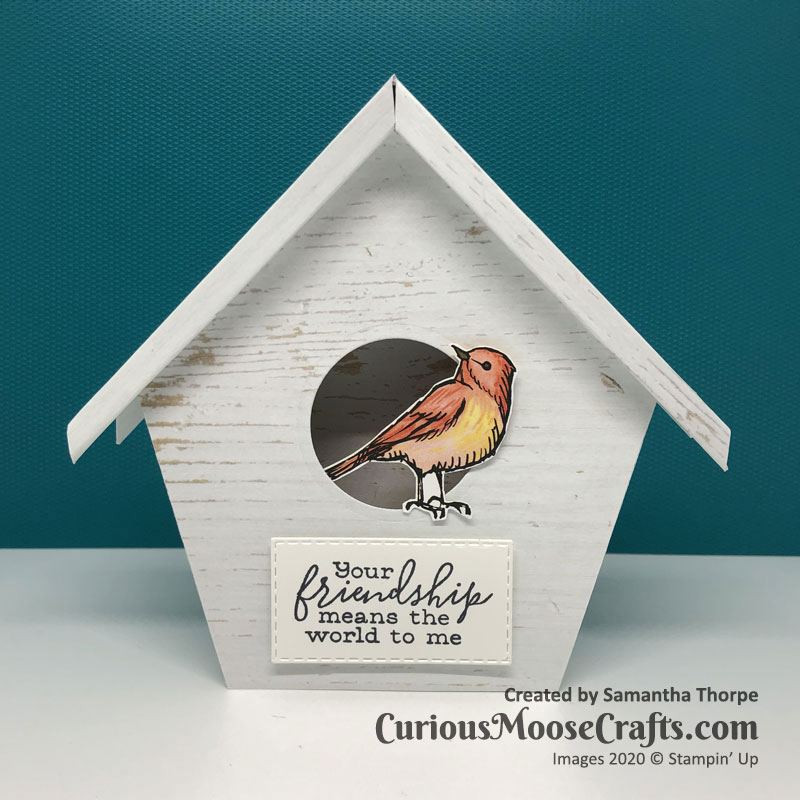
This little birdhouse could be boxed and given as a gift, or the back can be written on as a card. Yesterday’s version I made using the Birch stamp set, today’s I used some retired wooden effect designer series paper. You make this using 6x6inch papers.
Here is the pdf printable – in A4 size. I printed and then backed onto thicker card so that I could use as templates for cutting out the “real” pieces.
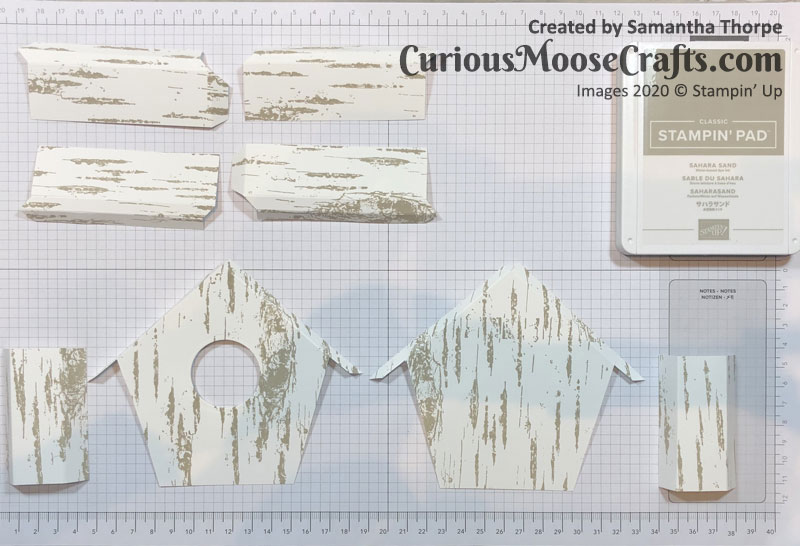
As marked on the pdf you need 2 sets of each element. I then used the 2nd smallest circle in the Layering Circles Dies set on the front of the house. Using the scorer on the Stampin’ Trimmer is a an easy way to get the score marks done. The pieces then fit together as shown below. The roof needs the middle tabs gluing together and then the front glued on top of the back. The side can then be glued to complete the structure. I also added some glue dots under the roof to attach to the sides. This gives it a tighter look and finishes it off well.
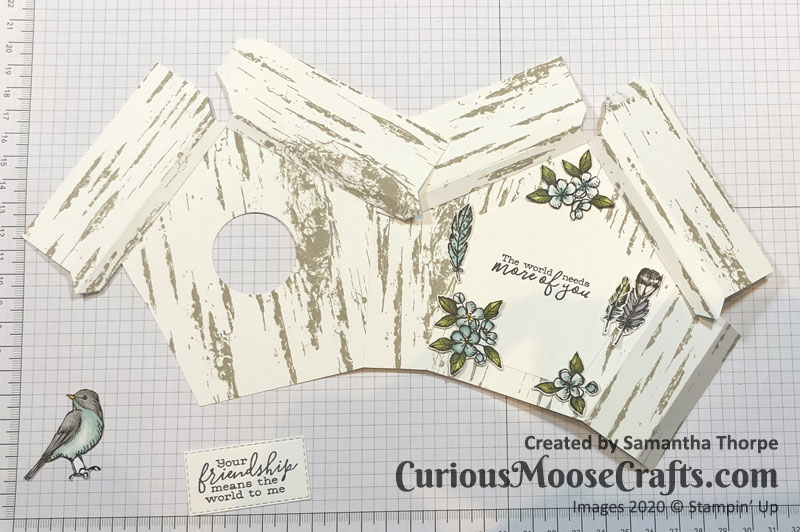
The main house is made using the Birch stamp set with Sahara Sand ink on Whisper White paper. The sentiments are from the Free As A Bird stamp set, but the bird, feathers and flowers are fussy cut from the matching Bird Ballad designer series paper.

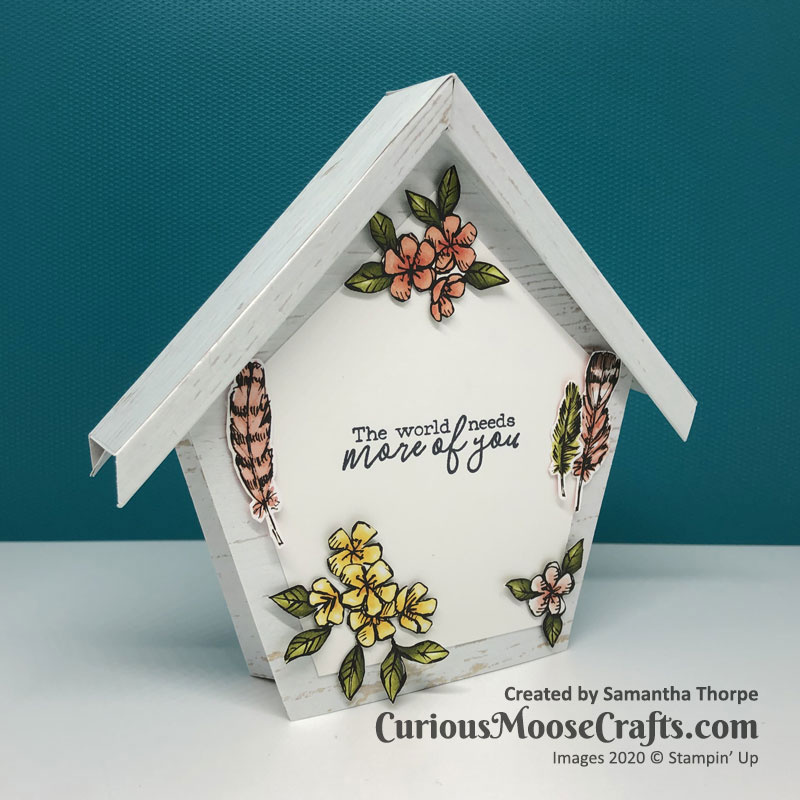
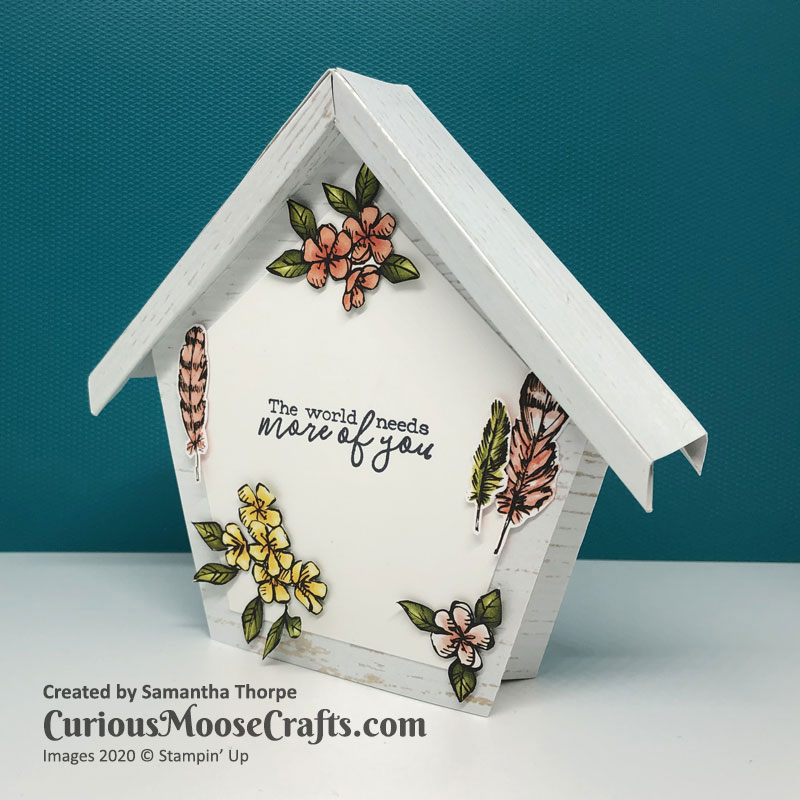
Here are the two different styles side by side. 🙂 I think they’re super cute!

Links to the shop are below if you’re interested in a closer look at any of the products.
Thanks for reading,
Sam xx


